
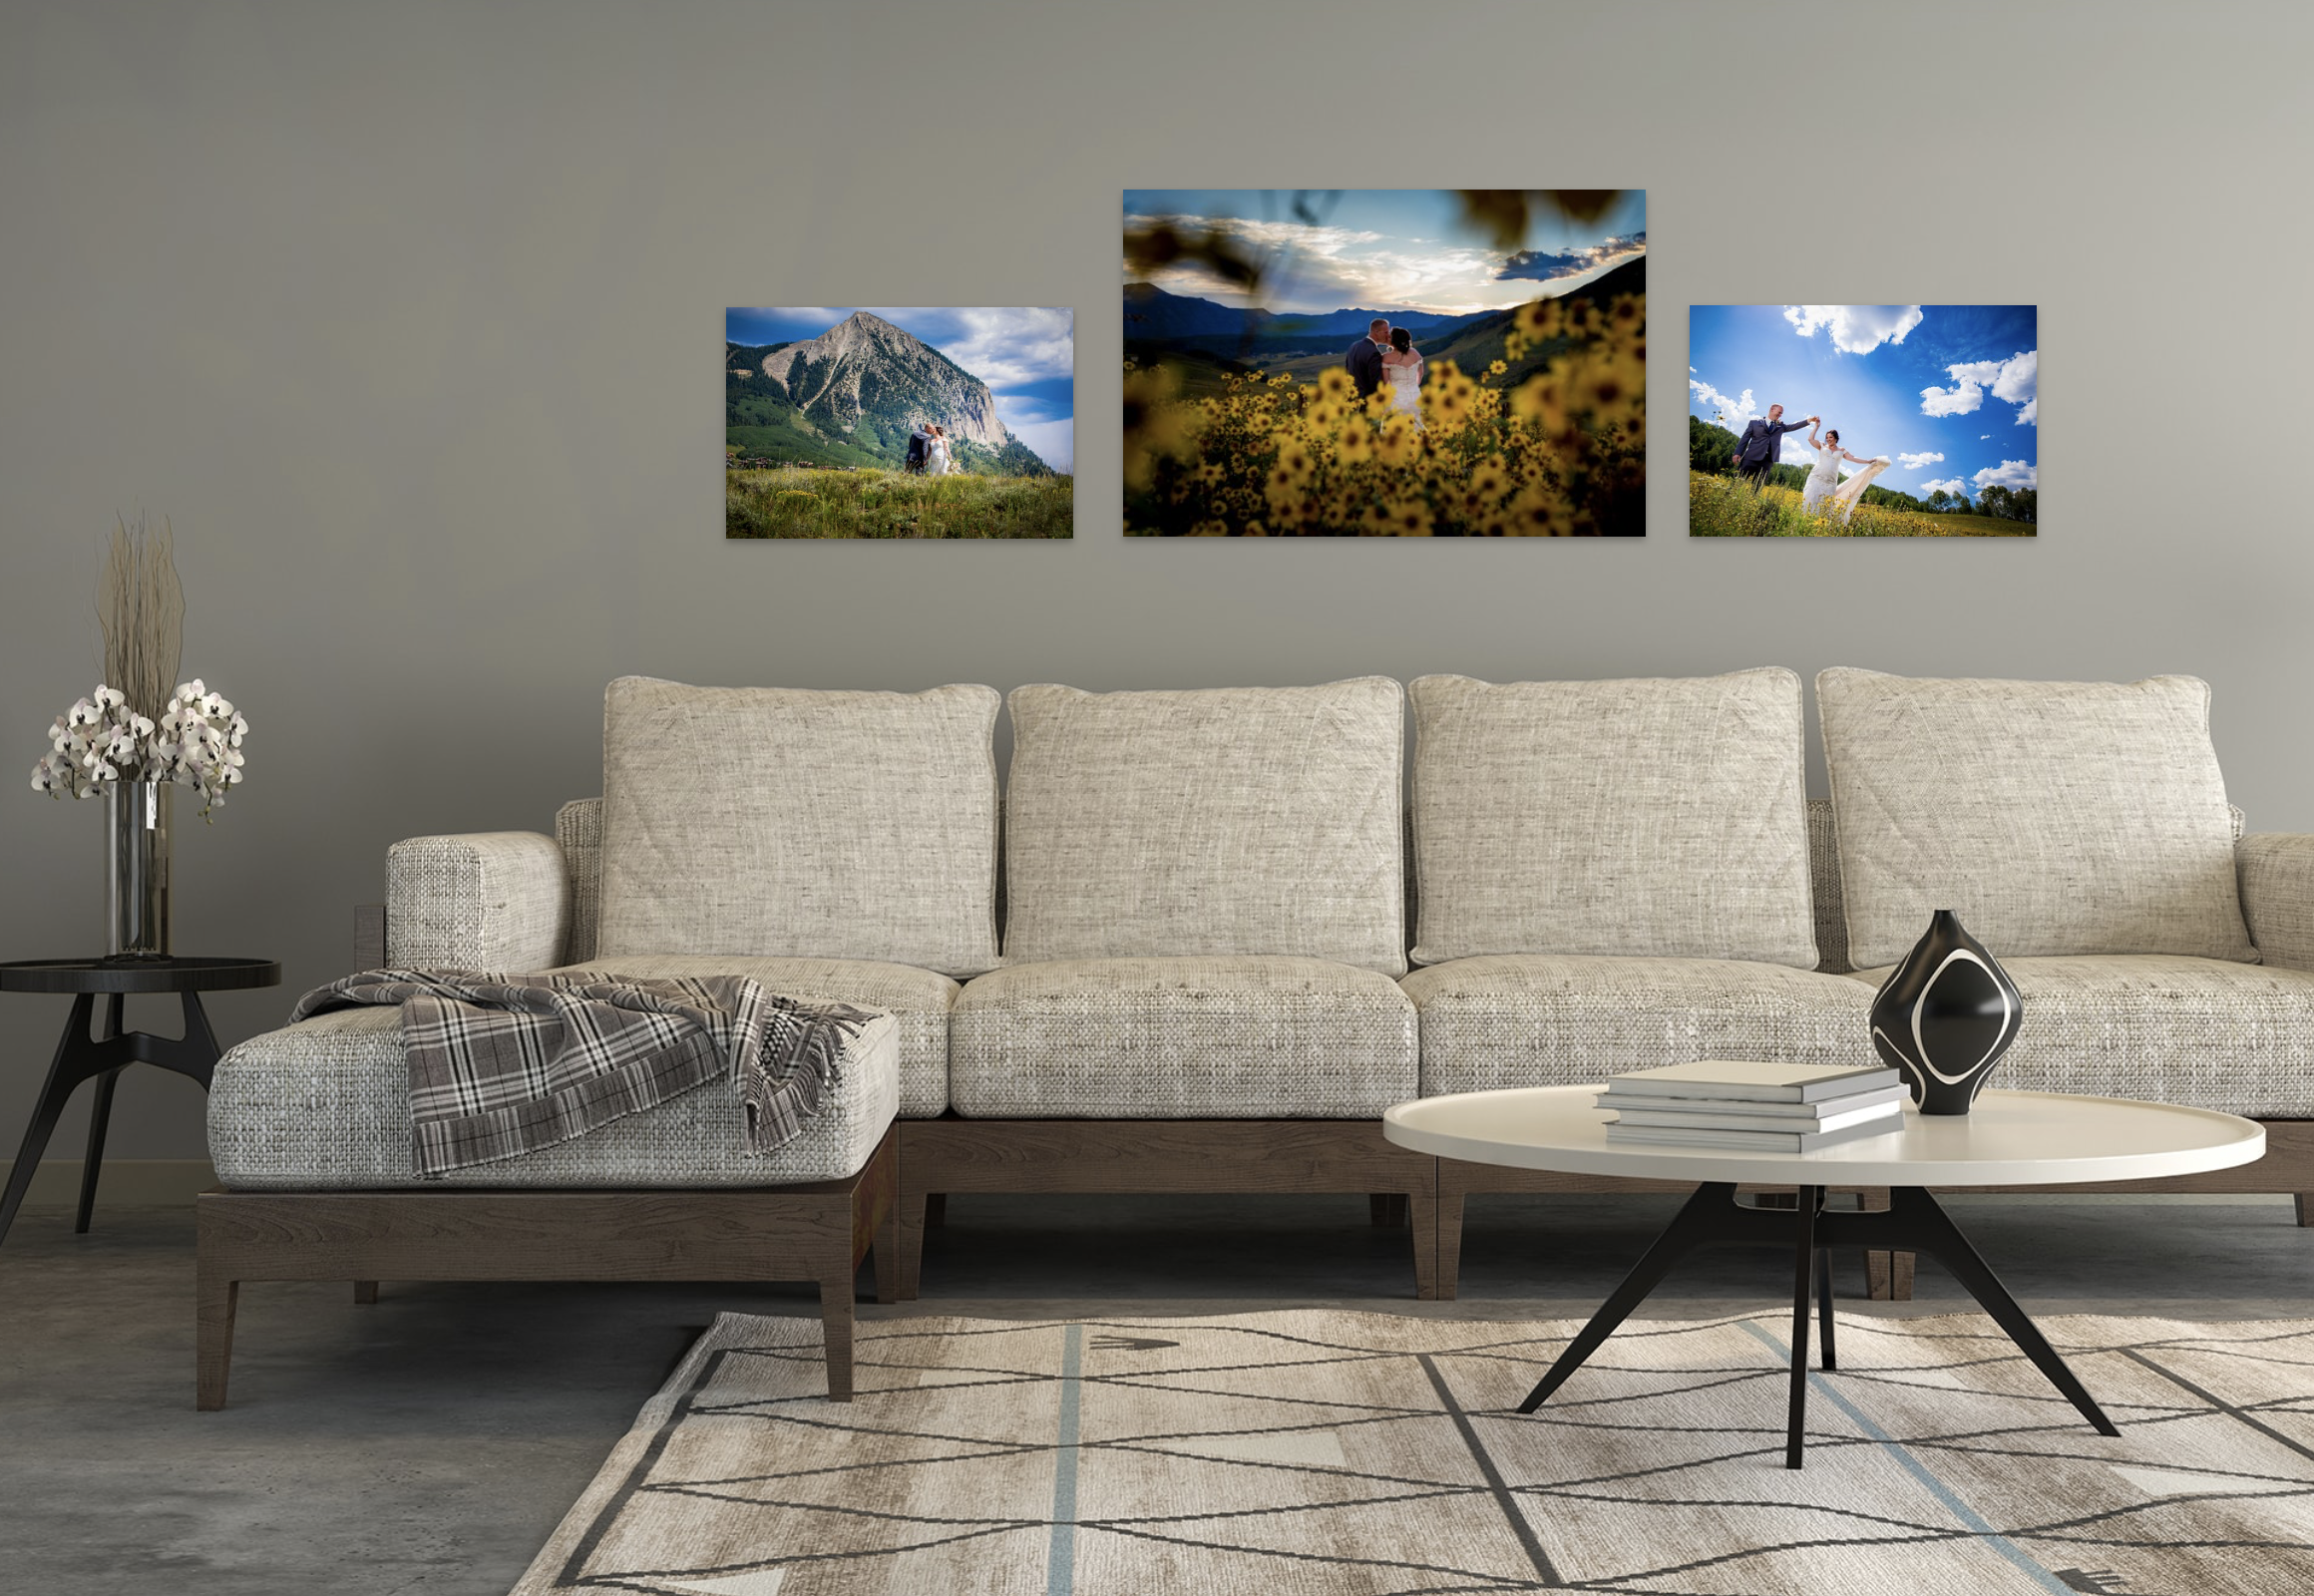
If you’ve ever strolled through a gallery, you’ll know how picture-perfect those walls look. If you’ve recently printed photos for your home and aren’t sure how you should be hanging them, this article will help you hang photos perfectly on your walls.
Decide on a theme
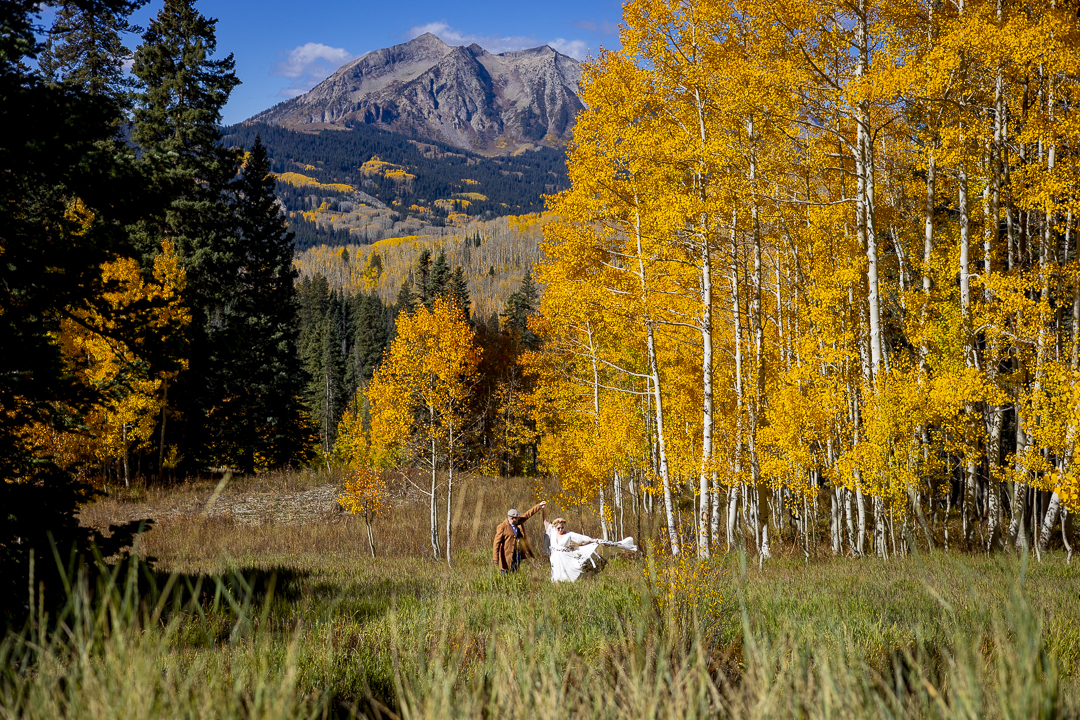
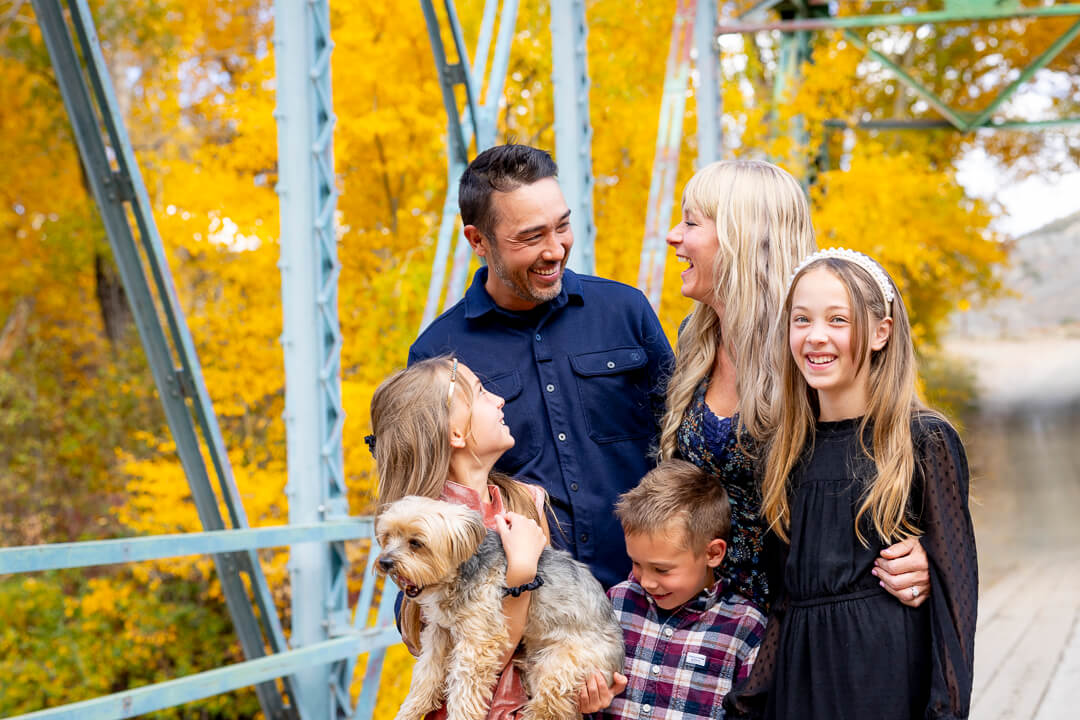
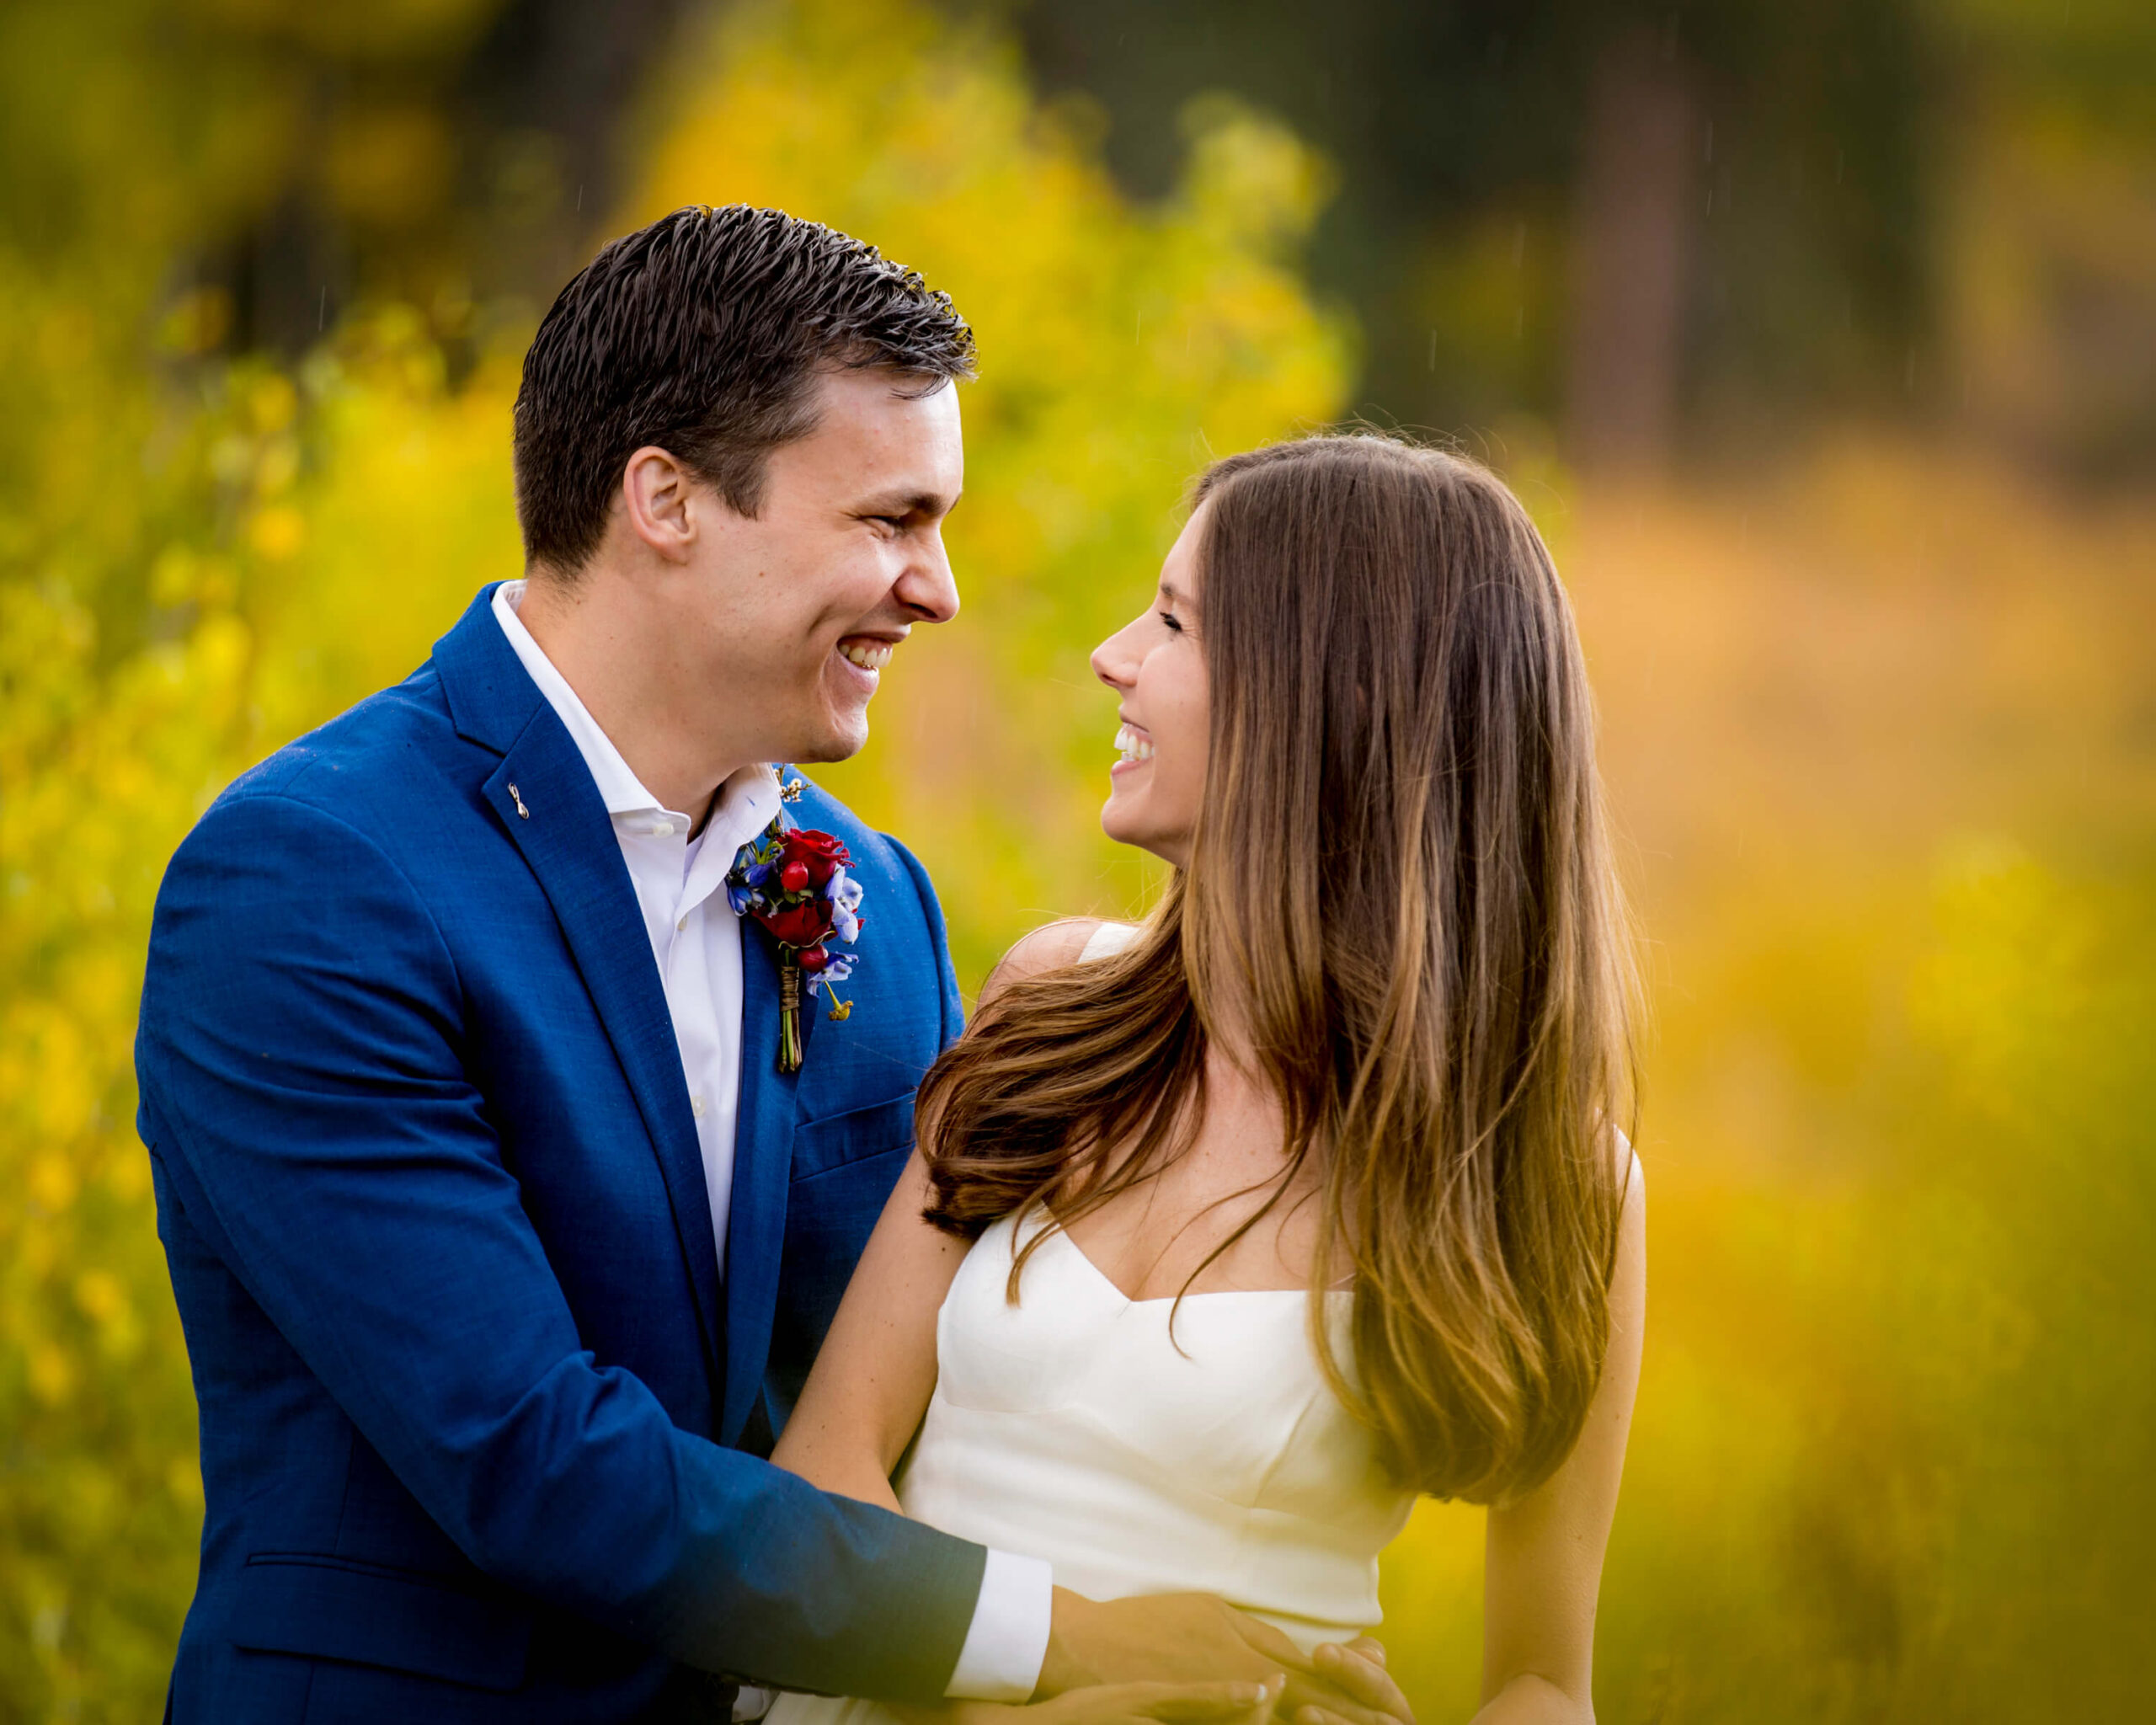
Before you begin, decide what theme you want in each area of your home. You might want to add family photos to your staircase or wedding photos to your bedroom. Whatever you decide, deciding on a theme beforehand will make the process a lot easier.
Measure out your wall space before you hang photos
Before you can start hanging photos, you will need to measure out your wall space. For this, you will need a tape measure and a pencil. Ideally, your photos should be placed about 55 – 60 inches from the floor and at least 8 inches away from major furniture items. Once you measure the entire wall that you want to use, you can determine how many prints you’ll be able to fit.
Create a photo wall layout
Craft paper and some tape make it very easy to create a layout that you can follow. You will need 3 – 4 hours to do this but it will be worth it once your photo wall looks amazing. Once you’ve laid some craft paper out, trace each frame or canvas before cutting them out. Next, arrange the frames on your floor. Once you’re happy with the layout, you can transfer it onto the wall. Aim to leave at least 1 inch between each frame. You can now start placing the actual frames on the wall. Don’t forget to use a level to make each frame or canvas straight.
Bonus Tip: Before you hang any of your photos, determine what hanging tool will work best based on the weight. Nails, j-hooks, eye hooks, and adhesive strips are all options. Check you WHCC for more hanging help! Book with Third Eye Photography to capture your special moments.


comments +